 how-to
Setting Up a Home Classroom: 7 Steps That Work
Table of Contents
- Step 1: Choose the Right Space for Your Home Classroom
- Step 2: Homeschool Room Ideas That Fit Your Home and Budget
- Step 3: Furniture, Seating and a Work Surface That Supports Focus
- Step 4: Your Homeschool Supplies Checklist Before Day One
- Step 5: Set Up the Online Learning Setup at Home
- Step 6: Homeschool Organisation Ideas for Daily Routines
- Step 7: Check Safety, Ergonomics and Accessibility in Your Home Classroom
- How to Tell If Your Home Classroom Setup Is Working
- Frequently Asked Questions
Last Updated: October 13, 2026
Step 1: Choose the Right Space for Your Home Classroom
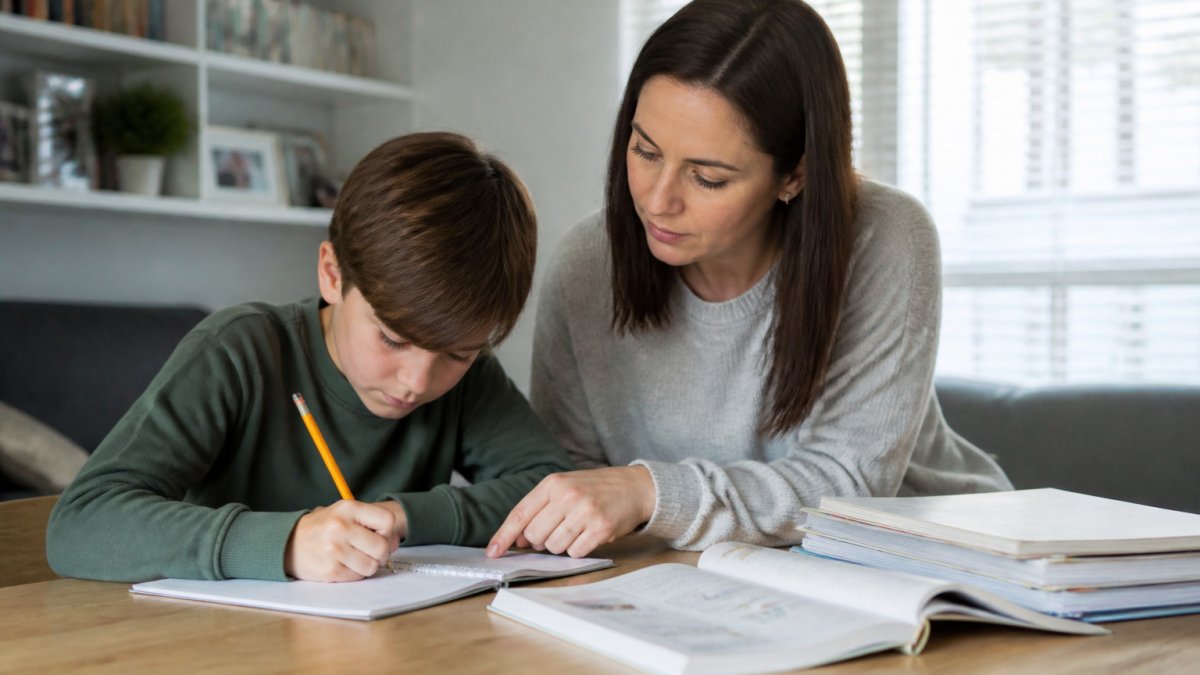
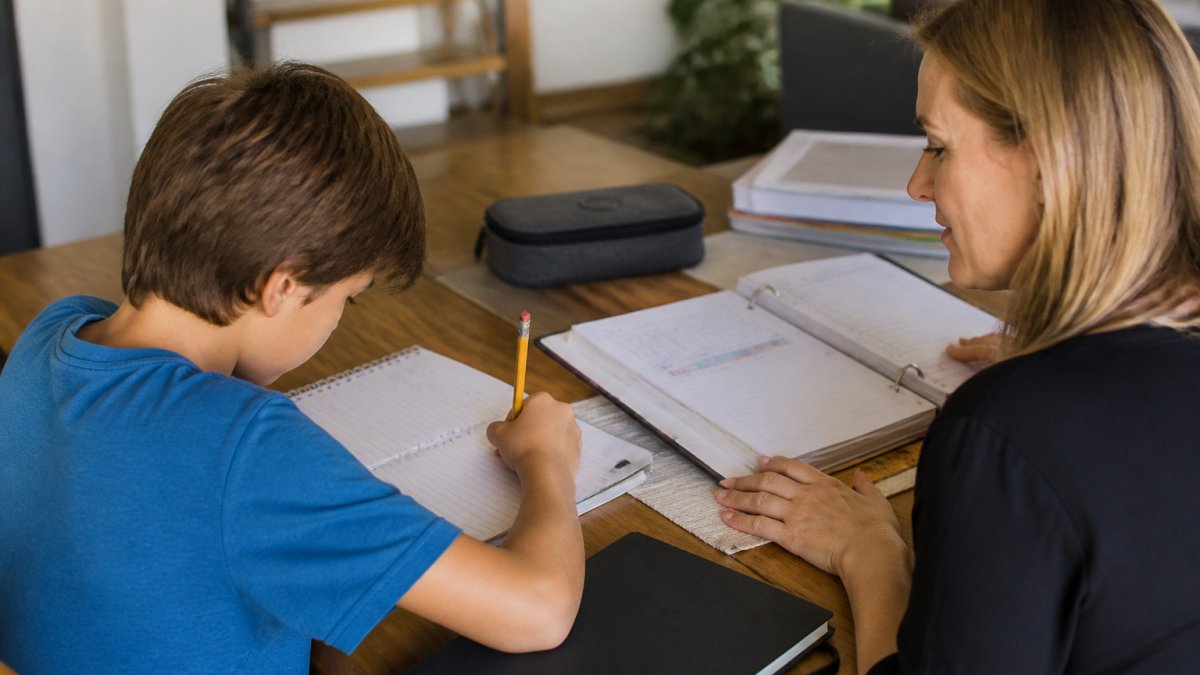
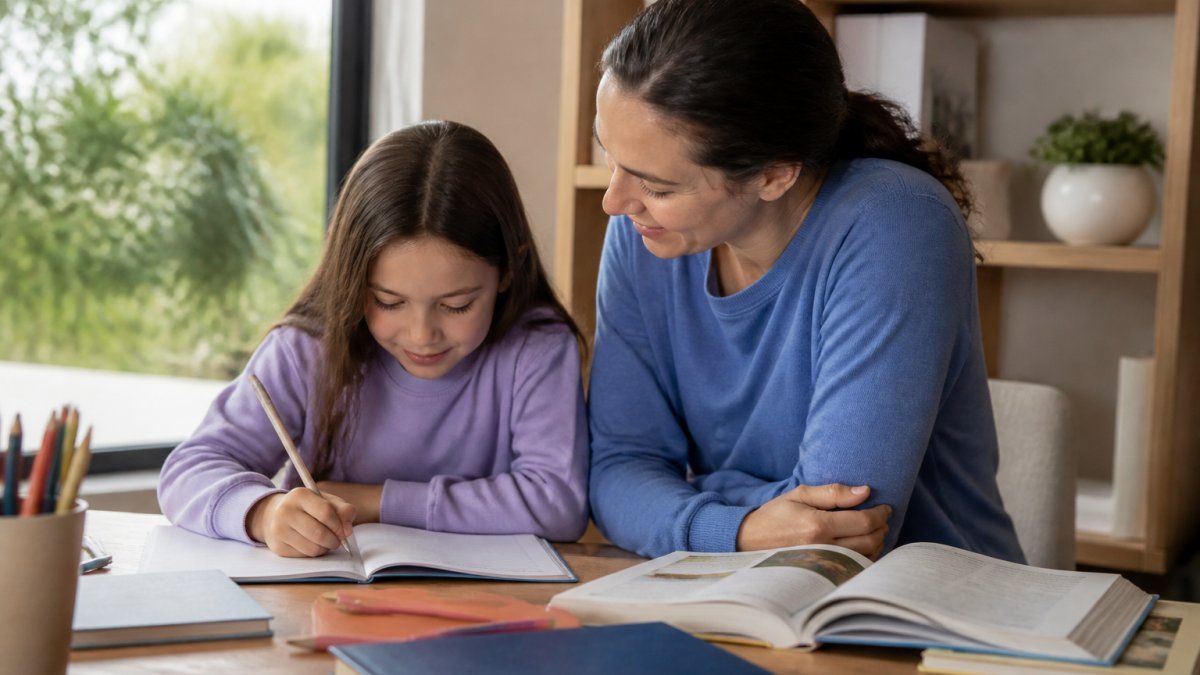
Setting up a home classroom starts with choosing a quiet, well-lit area away from the busiest parts of your home.
Look for a room or corner with natural light, away from the TV, kitchen traffic and front door, a space your child walks into and immediately knows it is time to learn.
Check these basics before you commit:
- Natural light for most of the day
- A door or clear boundary you can close off
- Power points for devices
The Australian Government's guidance on home education confirms that parents have the flexibility to shape learning at home, but the space still needs to support focus.
Small Spaces, Shared Rooms and Temporary Setups
Not every family has a spare room. A shared bedroom, dining table or lounge corner can all work as a home classroom with a few smart moves.
Try these fixes for tight spaces:
- Use a fold-away desk or a rolling trolley you can pack up each day
- Store supplies in labelled tubs that slide under a bed
- Set up a screen divider or bookshelf to create a visual boundary
A common mistake is treating a temporary setup as permanent. If the space doubles as a dining room, build a five-minute pack-up routine.
Step 2: Homeschool Room Ideas That Fit Your Home and Budget
Homeschool room ideas do not need a big budget. The best setups are simple, calm and built around what your child actually uses each day.
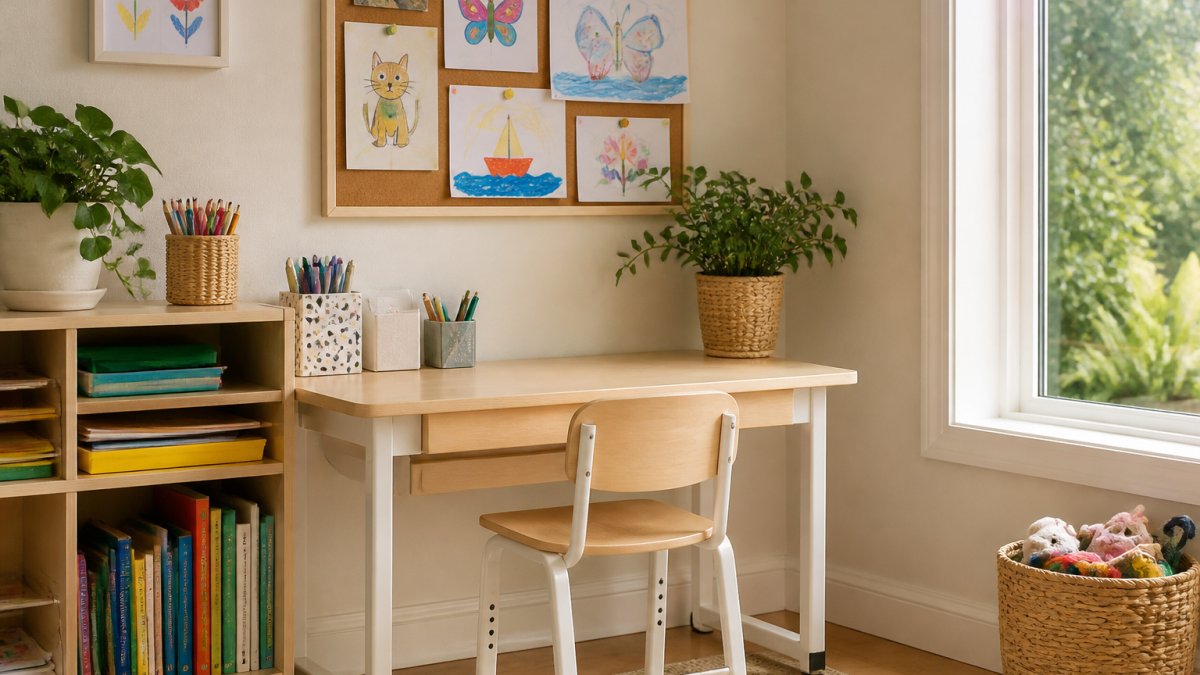
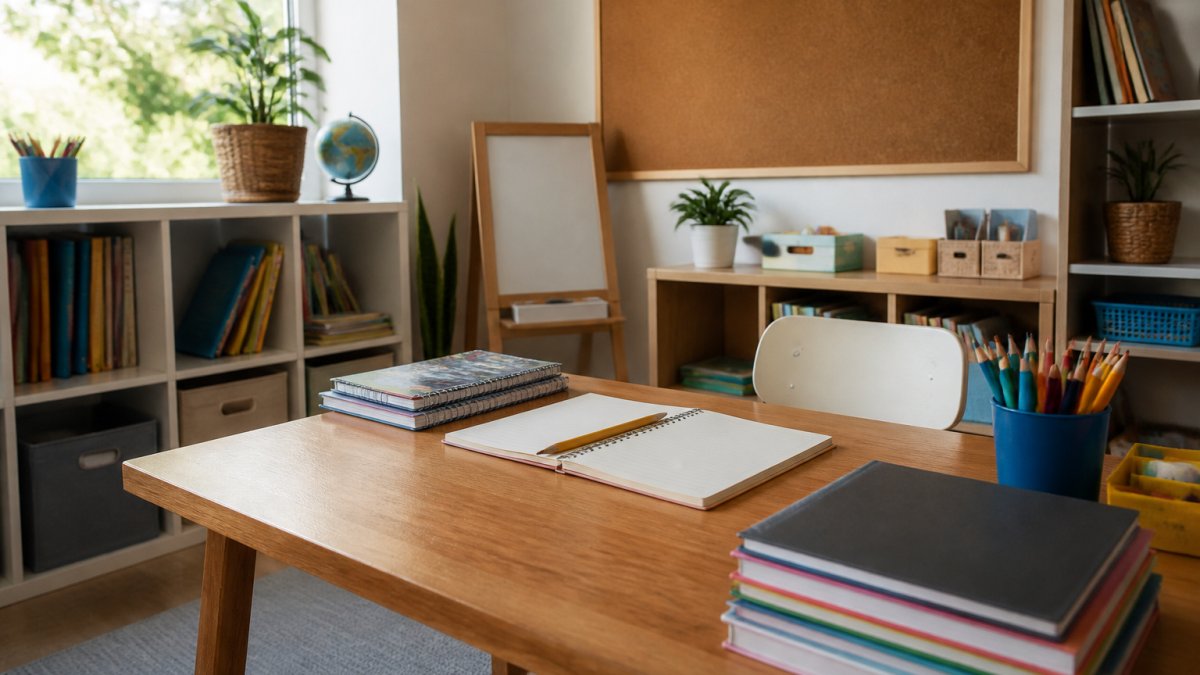
Start with the walls. A pinboard, whiteboard and a few posters give the space a teaching feel cheaply. Add open shelves at your child's height so they can grab materials themselves.
Think in three budget tiers:
| Budget | What to Buy | Best For |
|---|---|---|
| Low | Second-hand desk, plastic tubs, printed posters | Families testing the waters |
| Mid | New desk and chair, shelving, a small whiteboard | Most homeschooling families |
| Higher | Adjustable desk, storage cabinets, display boards | Full-time, long-term setups |
You can always start low and upgrade later.
Age-Specific and Subject-Specific Layouts
Younger children need floor space and easy-to-reach materials; older students need a clear work surface, a screen and quiet. Science or art weeks need a wipe-down table and project space.
Match the layout to the learner:
- Primary years: low shelves, floor cushions, hands-on tubs
- Secondary years: a proper desk, a monitor, a quiet corner
- Art and science: a wipe-clean surface and storage for messy gear
Homeschool layouts change: what works in term one may not work by term three. Plan for flexibility.
Step 3: Furniture, Seating and a Work Surface That Supports Focus
Furniture decides whether your child focuses for an hour or fidgets after ten minutes. A proper work surface and supportive chair matter more than decor.
Get these three pieces right:
- Desk: big enough for a laptop, a book and a notebook side by side
- Chair: feet flat on the floor, knees at roughly a right angle
- Work surface: a clear, uncluttered top with good lighting
For younger children, an adjustable chair grows with them; for teens, a standard desk and ergonomic chair will do. Short on space, a wall-mounted fold-down desk frees the floor.
Step 4: Your Homeschool Supplies Checklist Before Day One
A homeschool supplies checklist stops the first-week scramble, but the biggest mistake is buying everything at once. Buy week-one essentials, then add items as a genuine need appears. You will spend less and end up with a setup that matches how your child learns.
The Non-Negotiables for Week One
These are the items you will reach for every day. Buy these first.
- Pens, pencils and a sharpener
- Erasers and a ruler
- One exercise book and one folder per subject
Add These in Weeks Two to Four
Wait until you know your child's routine, many families need some but not all of these.
- A printer and paper (only if you print worksheets regularly)
- A pinboard or display board for finished work
- A second monitor for older students juggling notes and video calls
- A document camera or phone stand for showing handwritten work
What You Can Skip or Delay
Families often overspend on items that sit unused. Consider delaying:
- A dedicated laminator unless you reuse printed resources constantly
- A large whiteboard before you know how much wall space you have
- Extra devices before you have tested whether one laptop is enough
- Matching furniture sets before you know the layout works
Where to Save Money
Second-hand desks, op-shop tubs and printed posters cover the low-budget tier. Office supply stores discount back-to-school stock in January and mid-year, so time larger purchases around those windows. Libraries and community resource centres sometimes lend equipment short-term, which suits families testing a setup.
A Note on Consumables
Consumables run out faster than you expect. Pencils, paper, glue sticks and whiteboard markers are replaced most often, so buy them in larger quantities when on special rather than paying full price mid-term.
Step 5: Set Up the Online Learning Setup at Home
An online learning setup at home needs three things: the right devices, a steady internet connection and software your child will actually use.
Most families use a laptop or tablet with a keyboard, plus a webcam and headset with microphone for live lessons. A second monitor helps older students juggling notes and a video call.
Devices, Internet Speed and a Reliable Connection
A reliable internet connection is the backbone of any virtual classroom.
Simple fixes for a weak connection:
- Move the router closer, or add a Wi-Fi extender
- Use a wired connection for the main learning device
- Ask others to pause big downloads during lesson time
- Test the connection the day before a live class
For software, use an online learning platform that keeps lessons, quizzes and progress in one place. IQ Learning brings video lessons, interactive quizzes and personalised learning plans together.
The eSafety Commissioner's guide to online safety is worth reading before your child starts live lessons, especially around privacy and screen time.
Step 6: Homeschool Organisation Ideas for Daily Routines
Homeschool organisation ideas work best when they are simple enough to keep on a busy day and specific enough that your child knows what happens next. A routine reduces pushback and keeps lessons moving.
Build the Day Around Fixed Anchors
Rather than scheduling every minute, anchor the day with a few non-negotiable points. Four anchors are usually enough:
- A set start time, even if it is relaxed
- A short morning check-in on the plan (five minutes is plenty)
- A clear finish time
- A five-minute tidy-up at the end
Everything between the anchors can flex, giving structure without a timetable your child resists.
Use a Visual Timetable for Younger Children
For primary-aged children, a visual timetable removes the "what are we doing now?" question. Print simple icons for each block, reading, maths, break, project, free choice, stick them on the wall in order and move a marker down as each finishes. Children who see what is coming next settle faster and argue less about transitions.
Use a Shared Calendar for Teens
Older students respond better to a shared digital calendar they can see and edit. Put lessons, deadlines and study blocks in it, and review it together each Sunday. This builds the planning habit they will need for senior years and surfaces clashes early.
Plan Focus Blocks and Breaks Deliberately
Lessons often run too long and focus collapses. Aim for focused blocks of 20 to 45 minutes depending on age, followed by a short break. Younger children need shorter blocks and more movement; teens manage longer stretches but still need a break every 45 minutes.
Breaks work best when active and screen-free: a walk, a snack, a stretch, a chore. A phone break often does not restore focus.
Handle Transitions and Resistance
Transitions are where routines break down. A few strategies that help:
- Give a two-minute warning before a block ends
- Use a timer your child can see, not just your voice
- End each block with a small, satisfying finish (tick the timetable, close the book)
- Keep the pack-up routine identical every day so it becomes automatic
Review Weekly and Adjust
Review the week every Friday and change one thing that did not work. Small, consistent adjustments stick; big restructures usually collapse within a fortnight.
Step 7: Check Safety, Ergonomics and Accessibility in Your Home Classroom
Safety, ergonomics and accessibility are the parts families skip, then regret. A quick check now prevents sore backs, eye strain and hazards.
Run through this list each term:
- Cables tucked away or covered to stop trips
- Screens at eye level, about an arm's length away
- Good lighting with no glare on the screen
- Breaks every 30 to 45 minutes to move and rest eyes
For children with accessibility or neurodiverse needs, small changes help a lot. Noise-cancelling headphones cut distractions. A wobble cushion or standing option helps children who need to move.
How to Tell If Your Home Classroom Setup Is Working
Signs it is working:
- Your child sits down without a fight
- Focus stretches get longer over the term
- Fewer distractions pull them away
- They can find their own supplies
If something is off, change one thing at a time. Move the desk, adjust the chair, cut the clutter.
IQ Learning supports this with learning analytics and progress tracking, so you can see what is working and adjust the plan.
Setting up a home classroom that actually works takes planning, but you do not have to build it alone.
Frequently Asked Questions
How much space do you need for a home classroom?
You do not need a spare room. A desk, a chair, and about 1.5 metres of wall space can work for a primary-aged child. Secondary students benefit from a slightly wider work surface to fit a laptop, notebooks, and a second screen. If space is tight, a fold-down desk in a shared room or a corner of the dining area is enough, as long as your child can leave materials set up between sessions rather than packing everything away each day.
How can you create a home classroom in a small space?
Go vertical and go mobile. Wall-mounted shelves, a pegboard, and under-desk storage bins keep supplies off the work surface. A rolling cart holds curriculum books and can be wheeled out of the living area at the end of the school day. For shared rooms, use a folding screen or a curtain on a track to signal when the space is in 'school mode'. Noise-cancelling headphones also help when siblings or a television are nearby.
Should a home classroom look like a traditional classroom?
It does not have to. A traditional look with rows of desks and a whiteboard at the front suits some children, but many learn just as well at a kitchen bench or a couch with a lap desk. What matters more is that the space is consistent, well-lit, and free from the distractions your child is most sensitive to. A few visual displays, such as a timetable and a map, can help without turning the room into a replica of a school.
What should a home classroom include for online learning?
At minimum: a reliable internet connection, a laptop or tablet, headphones with a microphone, and a webcam if the device does not have a good one built in. Add a comfortable chair at the right height, a work surface with room for a notebook, and a power board within reach. If your child uses a platform with video lessons and quizzes, test the login and audio before the first session so technical problems do not eat into learning time.